CS:GO Skins Hub
Explore the latest trends and tips on CS:GO skins.
OBS Shenanigans for Gamers
Unlock epic OBS secrets and wild gaming tricks! Dive into OBS Shenanigans for Gamers and level up your streaming game today!
Top 10 OBS Settings Every Gamer Should Know
For every gamer looking to enhance their streaming experience, understanding the Top 10 OBS Settings is crucial. OBS Studio offers a myriad of features that can dramatically improve video quality and performance. Start by adjusting the 'Output Resolution' under the Output Settings to align with your desired quality. For most, a resolution of 1920x1080 at 60fps is ideal, as it strikes a good balance between quality and performance. Another key setting to consider is the 'Bitrate'; for 1080p streaming, a bitrate between 4500 to 6000 kbps usually works well to deliver a smooth viewing experience.
Next, take note of your Audio Settings to ensure clear and crisp sound for your viewers. Set your audio bitrate to at least 160 kbps to maintain a professional sound quality. Additionally, using the 'Custom Encoding' feature can optimize your streaming experience based on your specific network conditions. Don't forget to explore the Hotkeys to streamline your streaming operation. Setting hotkeys for starting, stopping your stream, and switching scenes will help you maintain a seamless flow while gaming. These settings are just the beginning, and mastering them can lead to a much richer streaming experience.

How to Set Up OBS for Live Streaming: A Step-by-Step Guide
Setting up OBS (Open Broadcaster Software) for live streaming can seem daunting at first, but with the right steps, you can be broadcasting to your audience in no time. Begin by downloading and installing OBS from the official website. Once installed, open the application and familiarize yourself with the interface. Next, you'll want to configure your settings for optimal streaming. Navigate to File > Settings, and under the Stream tab, select your streaming service and enter your stream key. This key is essential as it connects OBS to your streaming platform.
After configuring your stream settings, it's time to set up your scenes and sources. In OBS, a scene is a collection of sources, such as video, audio, and images, that you want to share. To create a new scene, click the + button under the Scenes box and name your scene. Then, add sources by clicking the + button in the Sources box. You can add various sources like Display Capture, Game Capture, or Audio Input Capture. Once you've added your sources, arrange them in the order you wish to display them during your stream. Test your setup by clicking the Start Streaming button to ensure everything is functioning correctly before you go live.
Troubleshooting Common OBS Issues: Solutions for Gamers
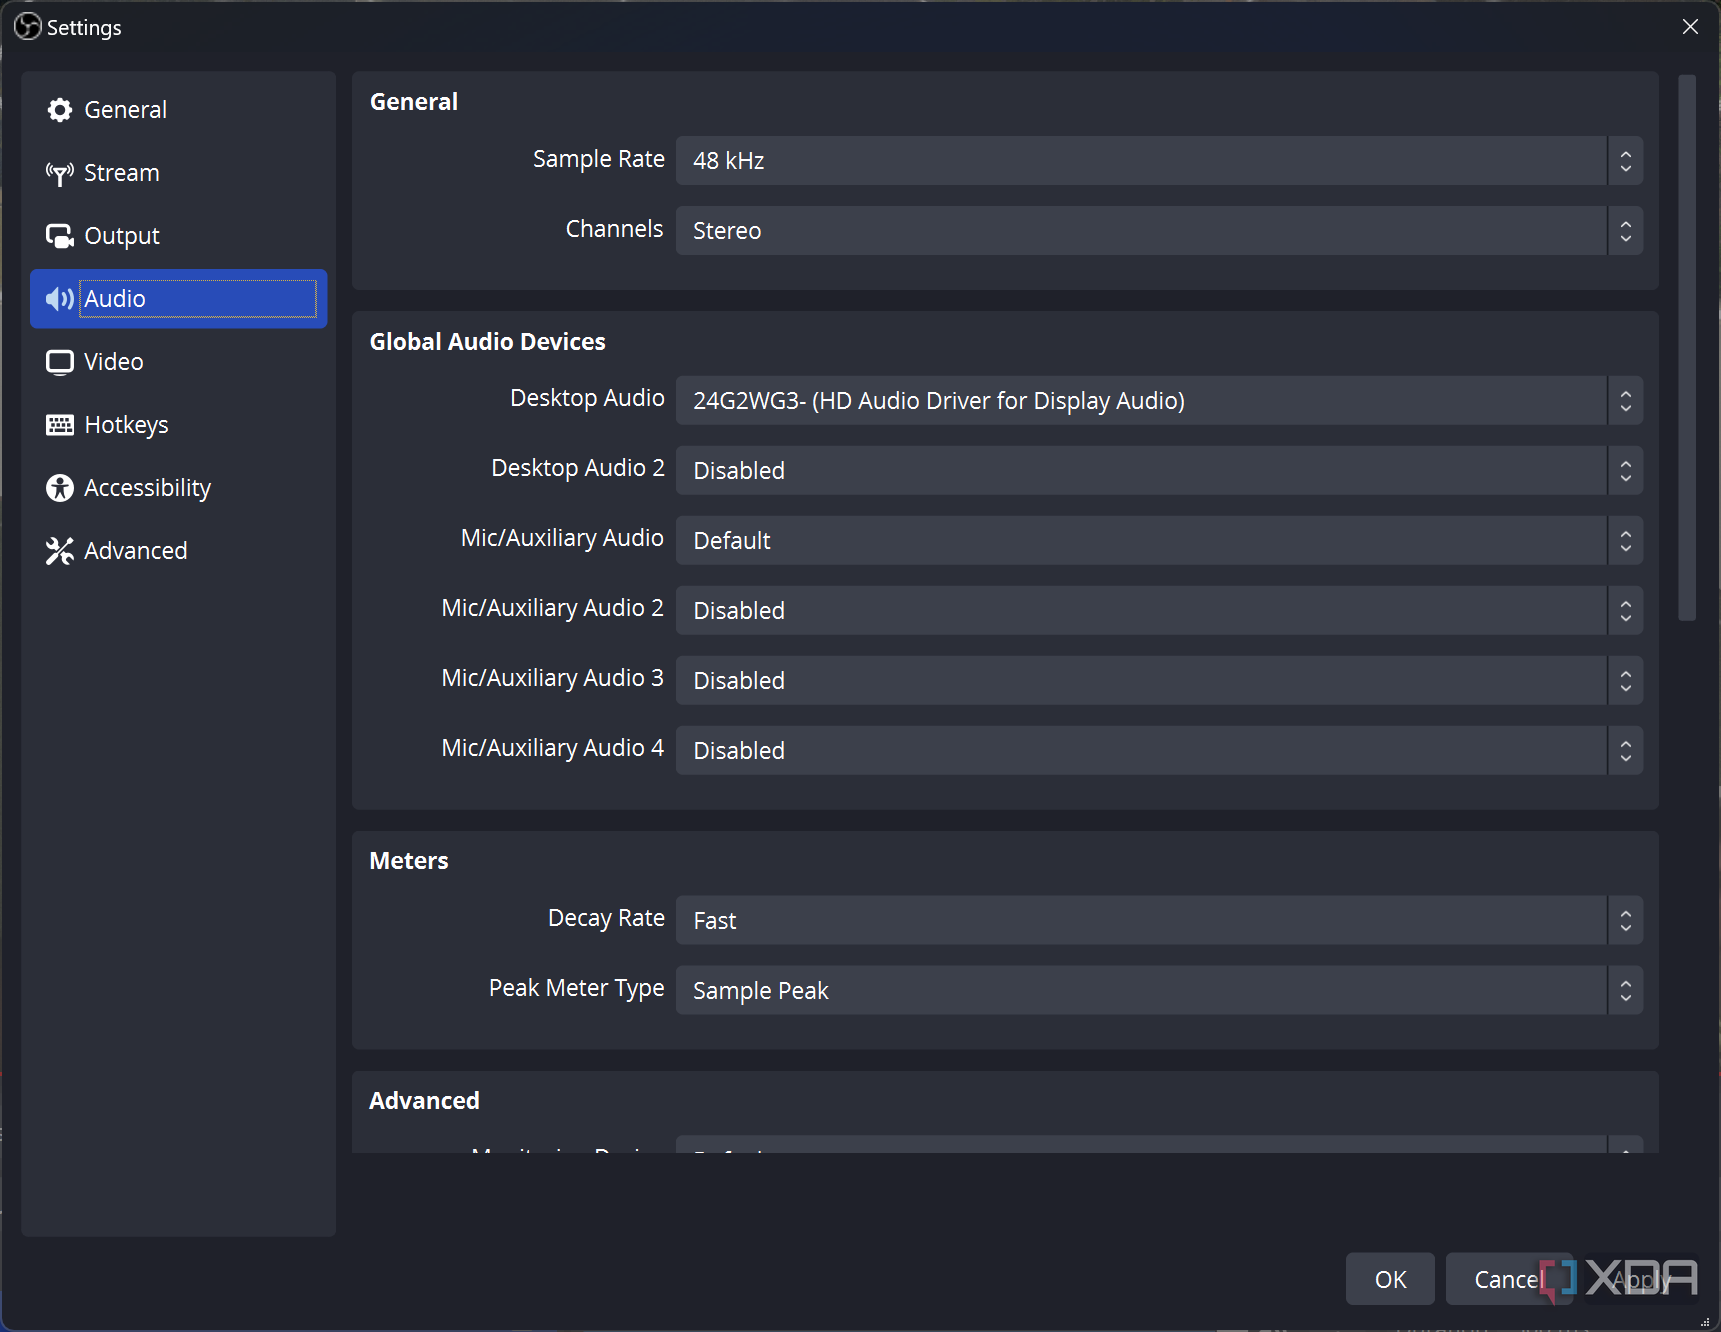
When using OBS (Open Broadcaster Software) for streaming or recording, gamers may encounter a range of issues that can disrupt their experience. One common problem is OBS not capturing game audio. To resolve this, ensure that the correct audio device is selected in the OBS settings. Navigate to File > Settings > Audio and verify that the 'Desktop Audio' and 'Mic/Auxiliary Audio' options are set to the right devices. Additionally, check that your game’s audio settings are also correctly configured to output audio through the device you’ve selected.
Another frequent issue is the OBS stream lagging or dropping frames. This can hinder the gaming experience significantly. First, ensure your internet speed can handle streaming; ideally, your upload speed should be at least double the bitrate you’re using in OBS. You can adjust the bitrate by going to Settings > Output and modifying the bitrate under the Streaming section. Additionally, consider lowering the resolution or frame rate in the Settings > Video section to see if this improves performance during gameplay.